How to Build Cornhole Boards
Cornhole is a great game to enjoy with friends and family in the backyard for a BBQ, at a tailgate or before a concert – it’s always time to throw bags!
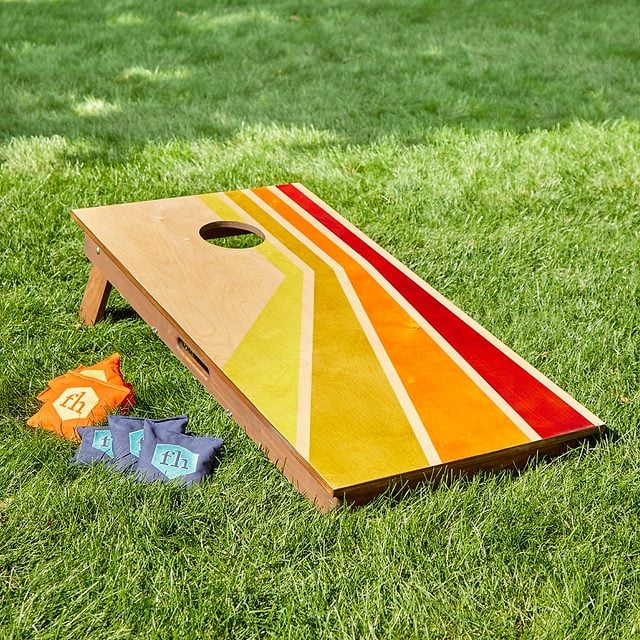
Cornhole, aka “bags,” is fun to play and a great game for all ages. And frankly, we’re fans of any fun activities that encourage us all to set down our phones and do something real in the outdoors with family and friends. With that in mind, we designed this set so it’s easy to build for even a woodworking beginner. Plus, you can fold it up and tote it around with ease.
Overall dimensions: 24-in. W x 48-in. D x 4-1/4-in. H
Tools Required
1″ forstner bit
3/8-in. round-over router bit
Drill/driver
Jigsaw
Miter saw (optional)
Pocket hole jig
Preval sprayer
Router
Table saw
Materials Required
1-1/4″ pocket screws
2 – 24” x 48” x 3/4″ Marine-grade plywood
2 – Pairs of slip hinges
2″ washer-head screws
4 – 3/8-in. Threaded knob
4 – 3/8″ x 2-1/4″ Carriage bolt
8 – 1” x 4” x 8’ Pine boards
Fender washers
Motorcycle cargo netting
Shellac
Spar Varnish
Spirit levels
TransTint wood dye
Project step-by-step (16)
Step 1 – Make the Skirt
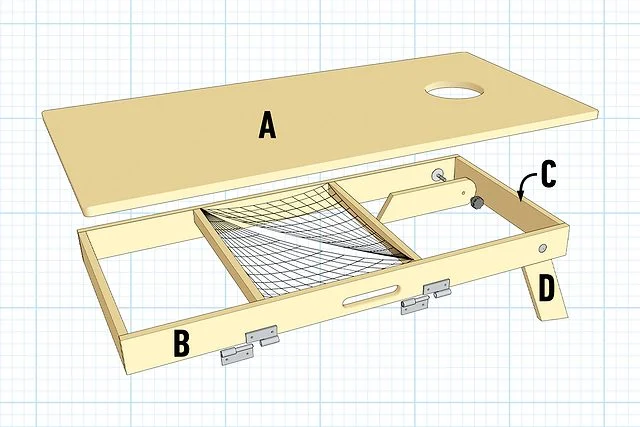
Cut the Skirt Boards – Gang-cut the skirt ends (C) and sides (B) from 1×4 select pine boards to ensure they’re the exact same length.
Step 2 – Cut the Handle Slots
Cut a handle slot in two of the skirt sides (B), one for each board. Mark the center lengthwise, then mark a line 1-1/2-in. from the bottom. Measure out 2-1/2-in. from both sides of center and, with a one-inch Forstner bit, drill two holes on those marks. Remove the rest of the waste with a jigsaw.
Step 3 – Round Over the Slots
Round over the handle slot with a 3/8-in.-radius router bit. Round over the outside profile and the inside.
Step 4 – Drill Pocket Holes and Assemble the Skirt
Drill pocket holes in the skirt sides (B) and ends (C) every eight inches for fastening the top (A). Drill two pocket holes on the skirt ends (C) to fasten the skirts together. Once you’ve drilled the pocket holes, clamp the skirt sides (B) and ends (C) together while you set the pocket screws. This keeps the parts from shifting as the screws tighten down.
Step 5 – Make the Legs
Trim the Legs – The legs (D) need to be slightly narrower than the skirt boards (B and C) so they sit inside the frame when stowed away. Cut them to 3-1/4-in. wide on the table saw. Once they’ve been cut down, tack or tape the legs together. Mark the cuts for the angled foot, the bolt hole and the half-round shape at the top of the leg.
Step 6 – Cut to Shape
Cut the half-round shape with a band saw or jigsaw while the legs (D) are tacked together. Make the 30-degree angled cut for the foot with any saw you’re comfortable with; we used the band saw. Then drill a 3/8-in. hole for the carriage bolt centered on the width, 1-5/8-in. down from the top.
Step 7 – Finish the Legs and Skirt
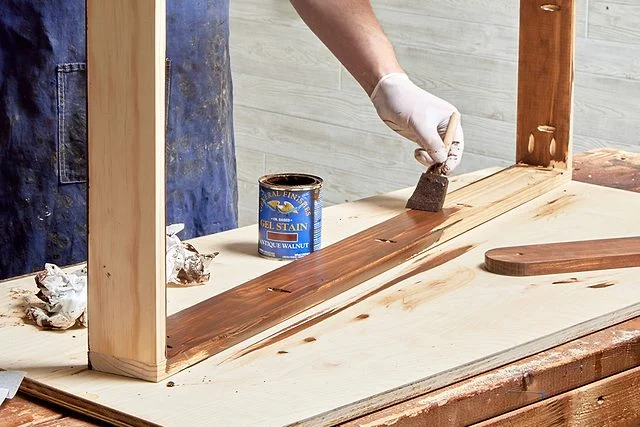
We chose a dark gel stain from General Finishes for the skirt to accent the bright colors of the cornhole boards. Apply a coat of wood stain to the skirt and the legs. Let them dry for 24 hours, then top with three coats of Behr spar varnish.
Step 8 – Make the Boards
Create a Custom Look – This step is optional, but we wanted to make these cornhole boards unique.
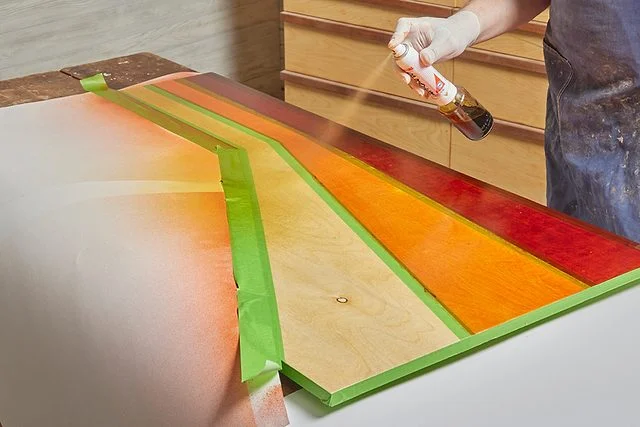
Cut the plywood tops (A) to size, then seal with two coats of shellac. Allow them to dry, then outline the design with painter’s tape. We made the four colors by blending thinned (with denatured alcohol) shellac with alcohol-soluble dyes and applying it with a Preval sprayer.
Pro tip: We used Frog Tape, wiping the tape with a damp cloth before spraying the colors. This seals the edges to prevent the color from bleeding under the tape.
Step 9 – Cut the Holes
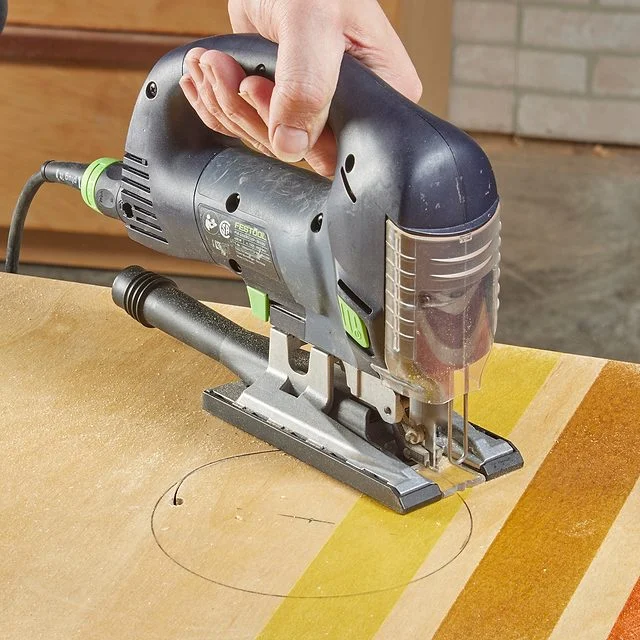
Draw a 3-in.-radius circle centered on the top (A) board’s width and nine inches down from the top. Drill a 1/4-in. pilot hole and cut out the holes with a jigsaw. Sand the inside of the hole smooth with 180-grit sandpaper.
Step 10 – Attach the Skirt
When the topcoat is dry, it’s time to attach the skirt. Put the top (A) face down on a towel to protect the finished surface. Center the skirt on the underside of the top (A), keeping it stable with a clamp while driving the 1-1/4-in. pocket hole screws. Then attach the cross braces (E) with two inch flat-head screws.
Step 11 – Mount the Legs
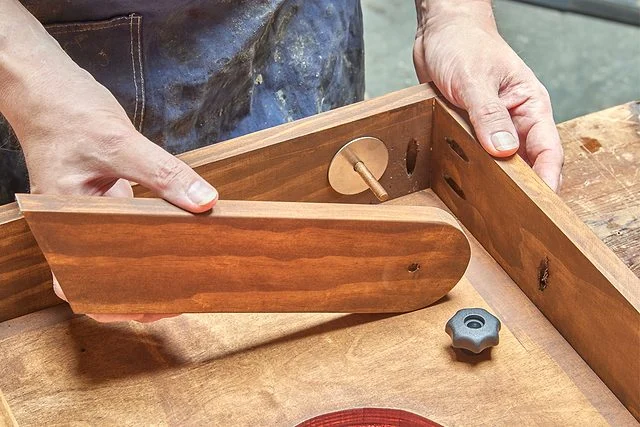
The legs (D) are connected to the skirt with 3/8-in. carriage bolts and held in position with threaded knobs. This allows each leg to be positioned independently to accommodate uneven yards. Gently tap the carriage bolt through the hole with a hammer. Insert a thin fender washer between the leg and the frame.
Step 12 – Install the Slip Hinges
To gang together both cornhole boards for storage, add two slip hinges and two small latches. This step is optional.
Step 13 – Attach a Spirit Level
Adding a spirit level to each cornhole board ensures they aren’t tilting to either side. We attached the levels to the top end (C) of the skirts with 3/4-in. screws. Make sure they’re perfectly parallel to the top.
Step 14 – Add Bag Storage
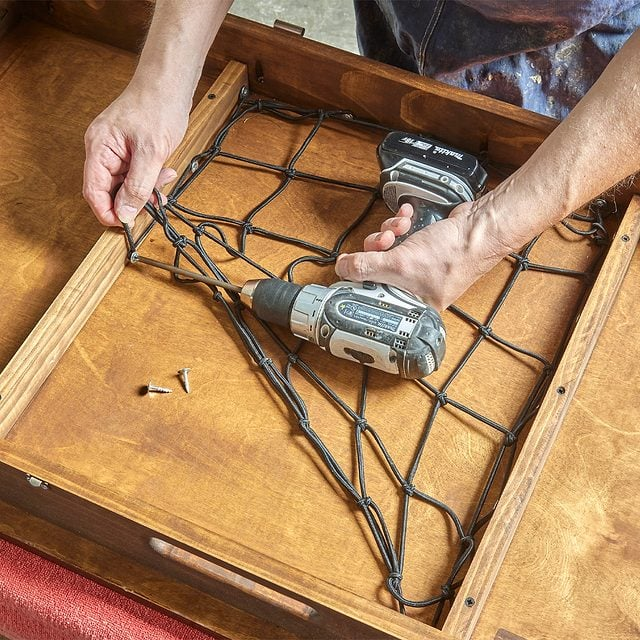
To store the cornhole bags, we attached an elastic net that’s used for cargo storage on motorcycle seats. Fasten the net to the inside frame of the cornhole boards with one-inch washer-head screws.
Step 15 – Add Protection
Once the color coats dry, add heavy-duty protection. We applied three coats of marine spar varnish. This protects the wood from moisture and UV — and the cornhole bags inside, too!
Step 16 – Cornhole Regulation Specs
According to the American Cornhole League, regulation 312.4, section G, cornhole boards must be 24 inches wide and 48 inches long. The 6-in.diameter hole must be centered nine inches from the top of the board. The top edge of the board should sit no higher than 12 inches off the ground.
How to Play Cornhole
Here’s a simple breakdown:
1️⃣ Set Up the Boards – Position the two cornhole boards 27 feet apart, facing each other.
2️⃣ Grab Your Beanbags – Each player or team receives four beanbags to toss.
3️⃣ Aim and Throw – Take turns tossing beanbags toward the opposite board.
4️⃣ Earn Points – Score 1 point for landing on the board and 3 points for making it through the hole.
5️⃣ Win the Game – The first team or player to reach 21 points secures victory!
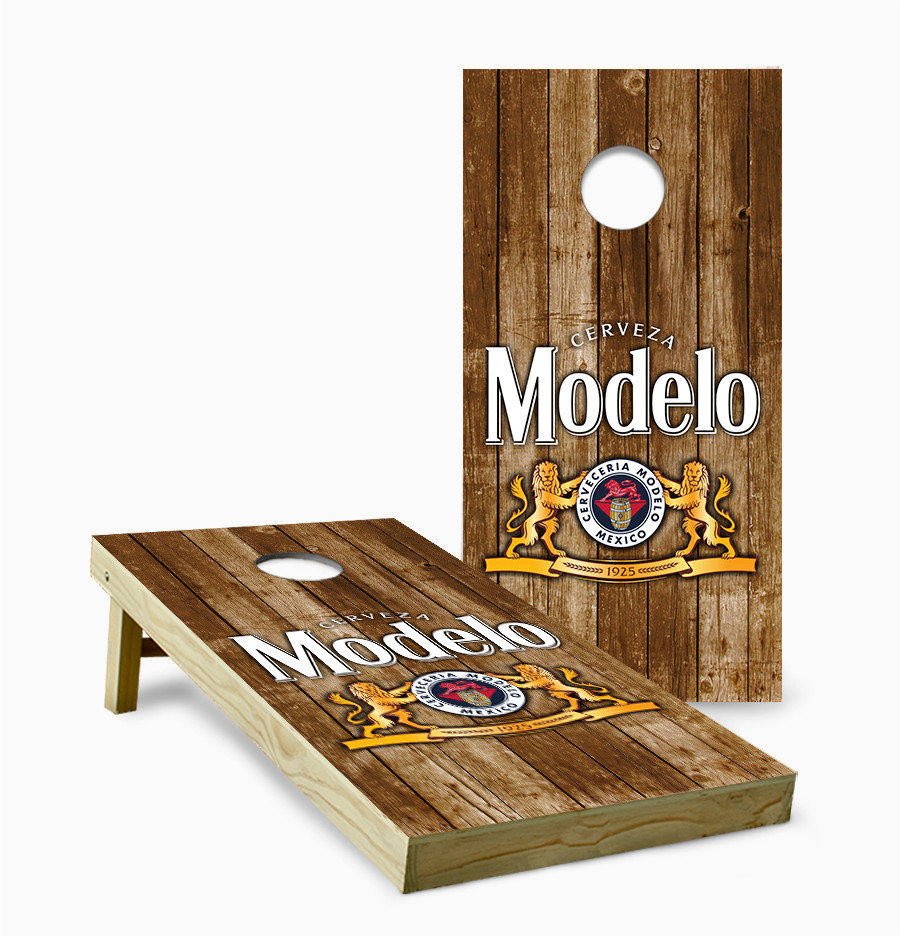
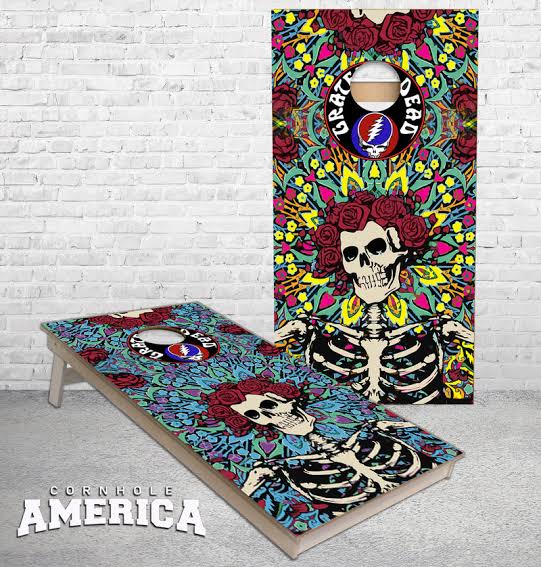
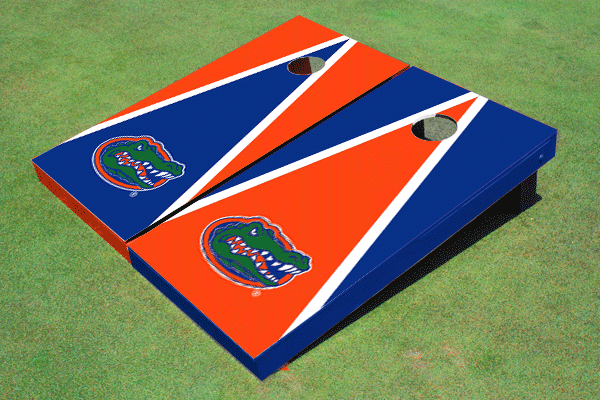
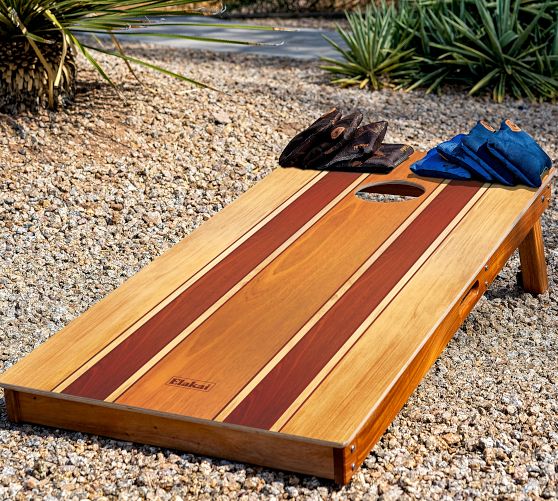
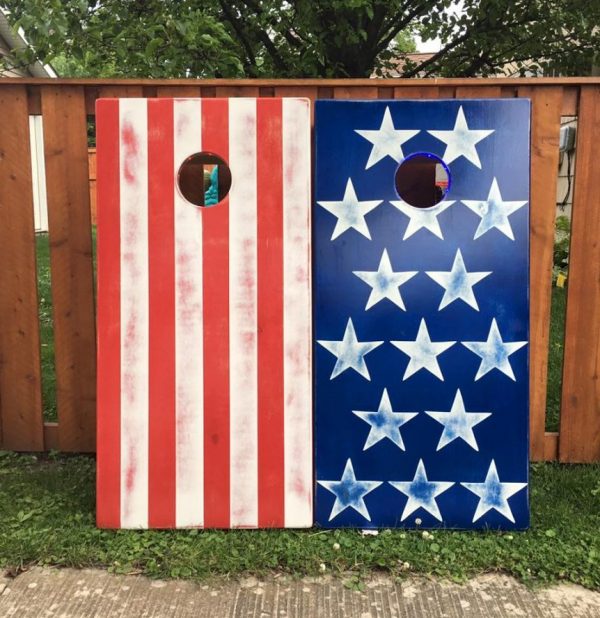
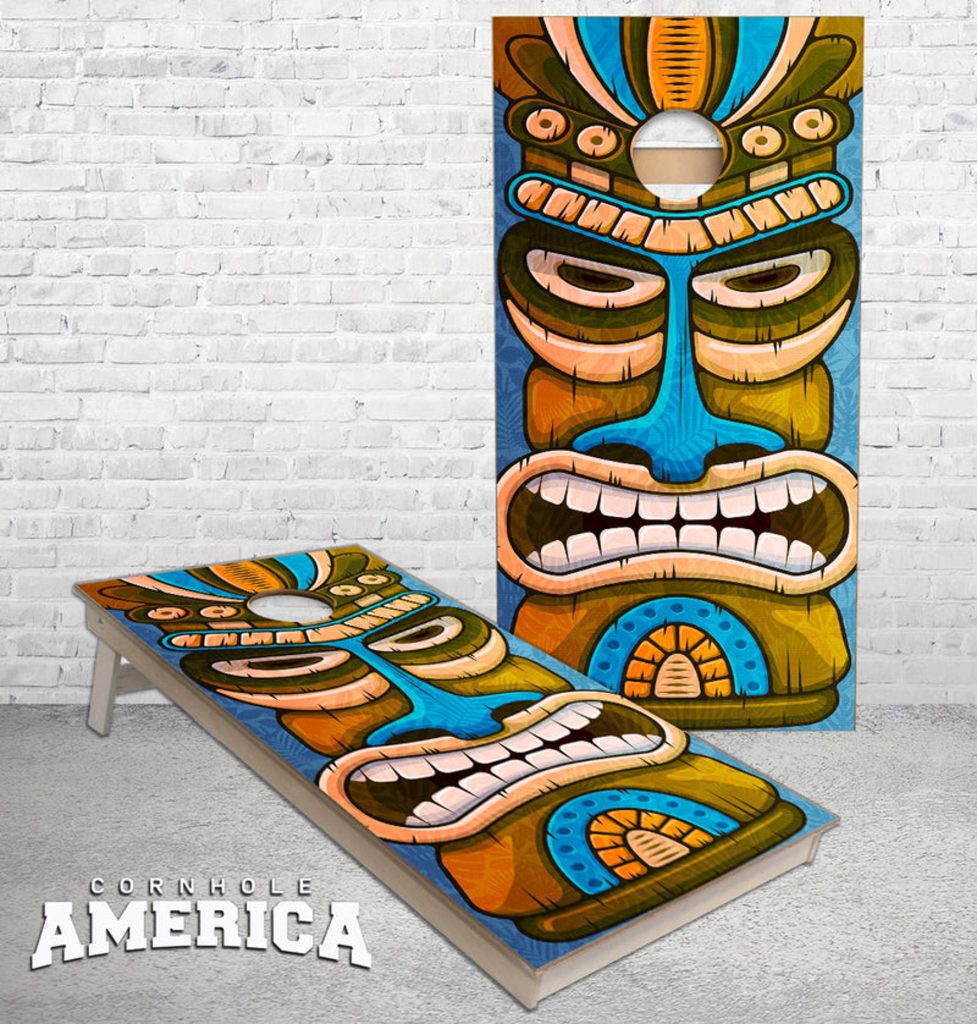
Here are some unique “boards” for inspiration (with links to purchase if you really like ’em)
Story and great DIY instructions, courtesy of:

Original Story Link